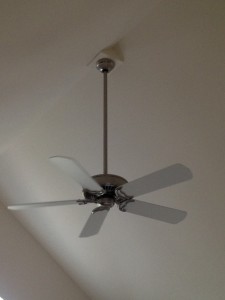
Ceiling fans have grown in popularity in recent years as the advantages of year-round savings have become apparent to more homeowners. Not only can they help keep a room cool in the summer while reducing the strain on air conditioners, but they also help circulate warm air down into a room during the winter.
Installing a ceiling fan can be a relatively simple task. Read on to discover the steps you can follow to replace an old light fixture with a new ceiling fan and light.
1. Remove Existing Light Fixture.
Safety first! Turn off the electricity to the old light fixture via the circuit box. Carefully hold the fixture in place while unscrewing it from the ceiling. Lower it from the ceiling and twist off the plastic connectors to disconnect the wires.
2. Remove the Old Electrical Box and Cut a New Hole.
You may have to pry free the old electrical box if it’s nailed to a joist or suspended from a bar. Trace out the new hole against the ceiling, centered along the joist. Cut out the new hole with a drywall saw.
3. Mount the New Electrical Box.
Feed the existing wiring through the new box and set it into the new hole in the ceiling. Allow the wiring to hang down to complete the installation later. Fasten the box to the joist with the screws provided. Be sure to wrap the bare copper wire around the grounding screw inside the new electrical box
4. Mount the New Ceiling Medallion.
Apply a small bead of urethane-based adhesive to the back of the ceiling medallion and feed the wires through like you did with the electrical box. Center the medallion in place and fasten it with the provided nails.
5. Mount the Ceiling Fan Plate.
Pull the wires through the center hole of the fan’s metal ceiling plate. Attach the ceiling plate to the electrical box with provided screws.
6. Assemble the Fan Components.
With the fan on the floor, feed the wires coming from the motor through the center of the canopy. Set the canopy on top of the motor. Next, pass the wires through the hollow down-rod pipe. Thread the down-rod pipe into the top of the motor and use a wrench to tighten the square-head locking screw on the side of the pipe.
7. Connect the Wiring.
Hook one side of the canopy onto the ceiling plate. Use wire connectors to join the two green wires to the bare copper wire. Do the same for the two white and black wires. Mount the fan up into position and secure it with the two canopy screws.
8. Attach the Blades and Light Fixtures.
Attach each fan blade and arm, then fasten the arm to the motor with the screws provided. Plug the fan’s light-fixture and install shade and light bulbs as needed.
You are now well on your way to year-round savings on your utility bills. If you’d like to enlist the help of a professional, contact a Levittown electrician at 215-547-4566.


